Student Projects
Jonah Mikesell
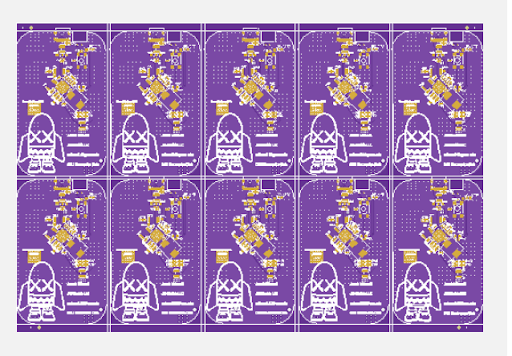
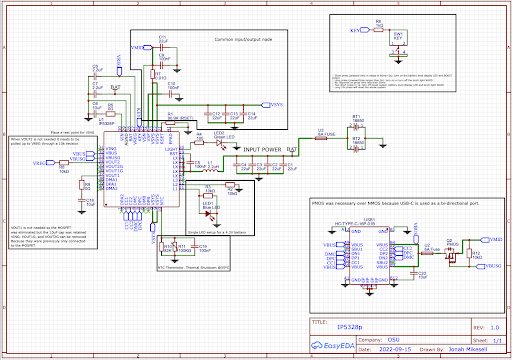
Background: I applied for funding (from The Electronics Club) to create the Altoids Boost power bank module. These boards functioned as desired and were implemented into more than 20 sold chargers. As apple begins selling USB-C quick charging blocks, demand for power banks with USB-C input/output has increased. Goal: To design a circuit board that has a single input/output USB-C port. Demand for USB-C technology is higher than ever and I want to fill the market need. Also these boards will integrate the battery holders, making manufacturing even more efficient. Issues: Prototype #1 did not function at all, and the data sheet was unclear on what to do with the unused pins, causing issues with my schematic. None of my signals were routed using differential pairs. I resolved these issues by reaching out to Injoinic, the manufacturer of IP5328p. They replied back saying I needed to connect VOUT1, VOUT2, and VIN to 10uF capacitors connected to GND. Final board design (on the right) features strategic use of 0-ohm resistors for a “5th” layer and easy customization for pins, exposed copper around thermistor for increased thermal conductivity, and 6A safety fuses for overcurrent protection.

Jason Jiang
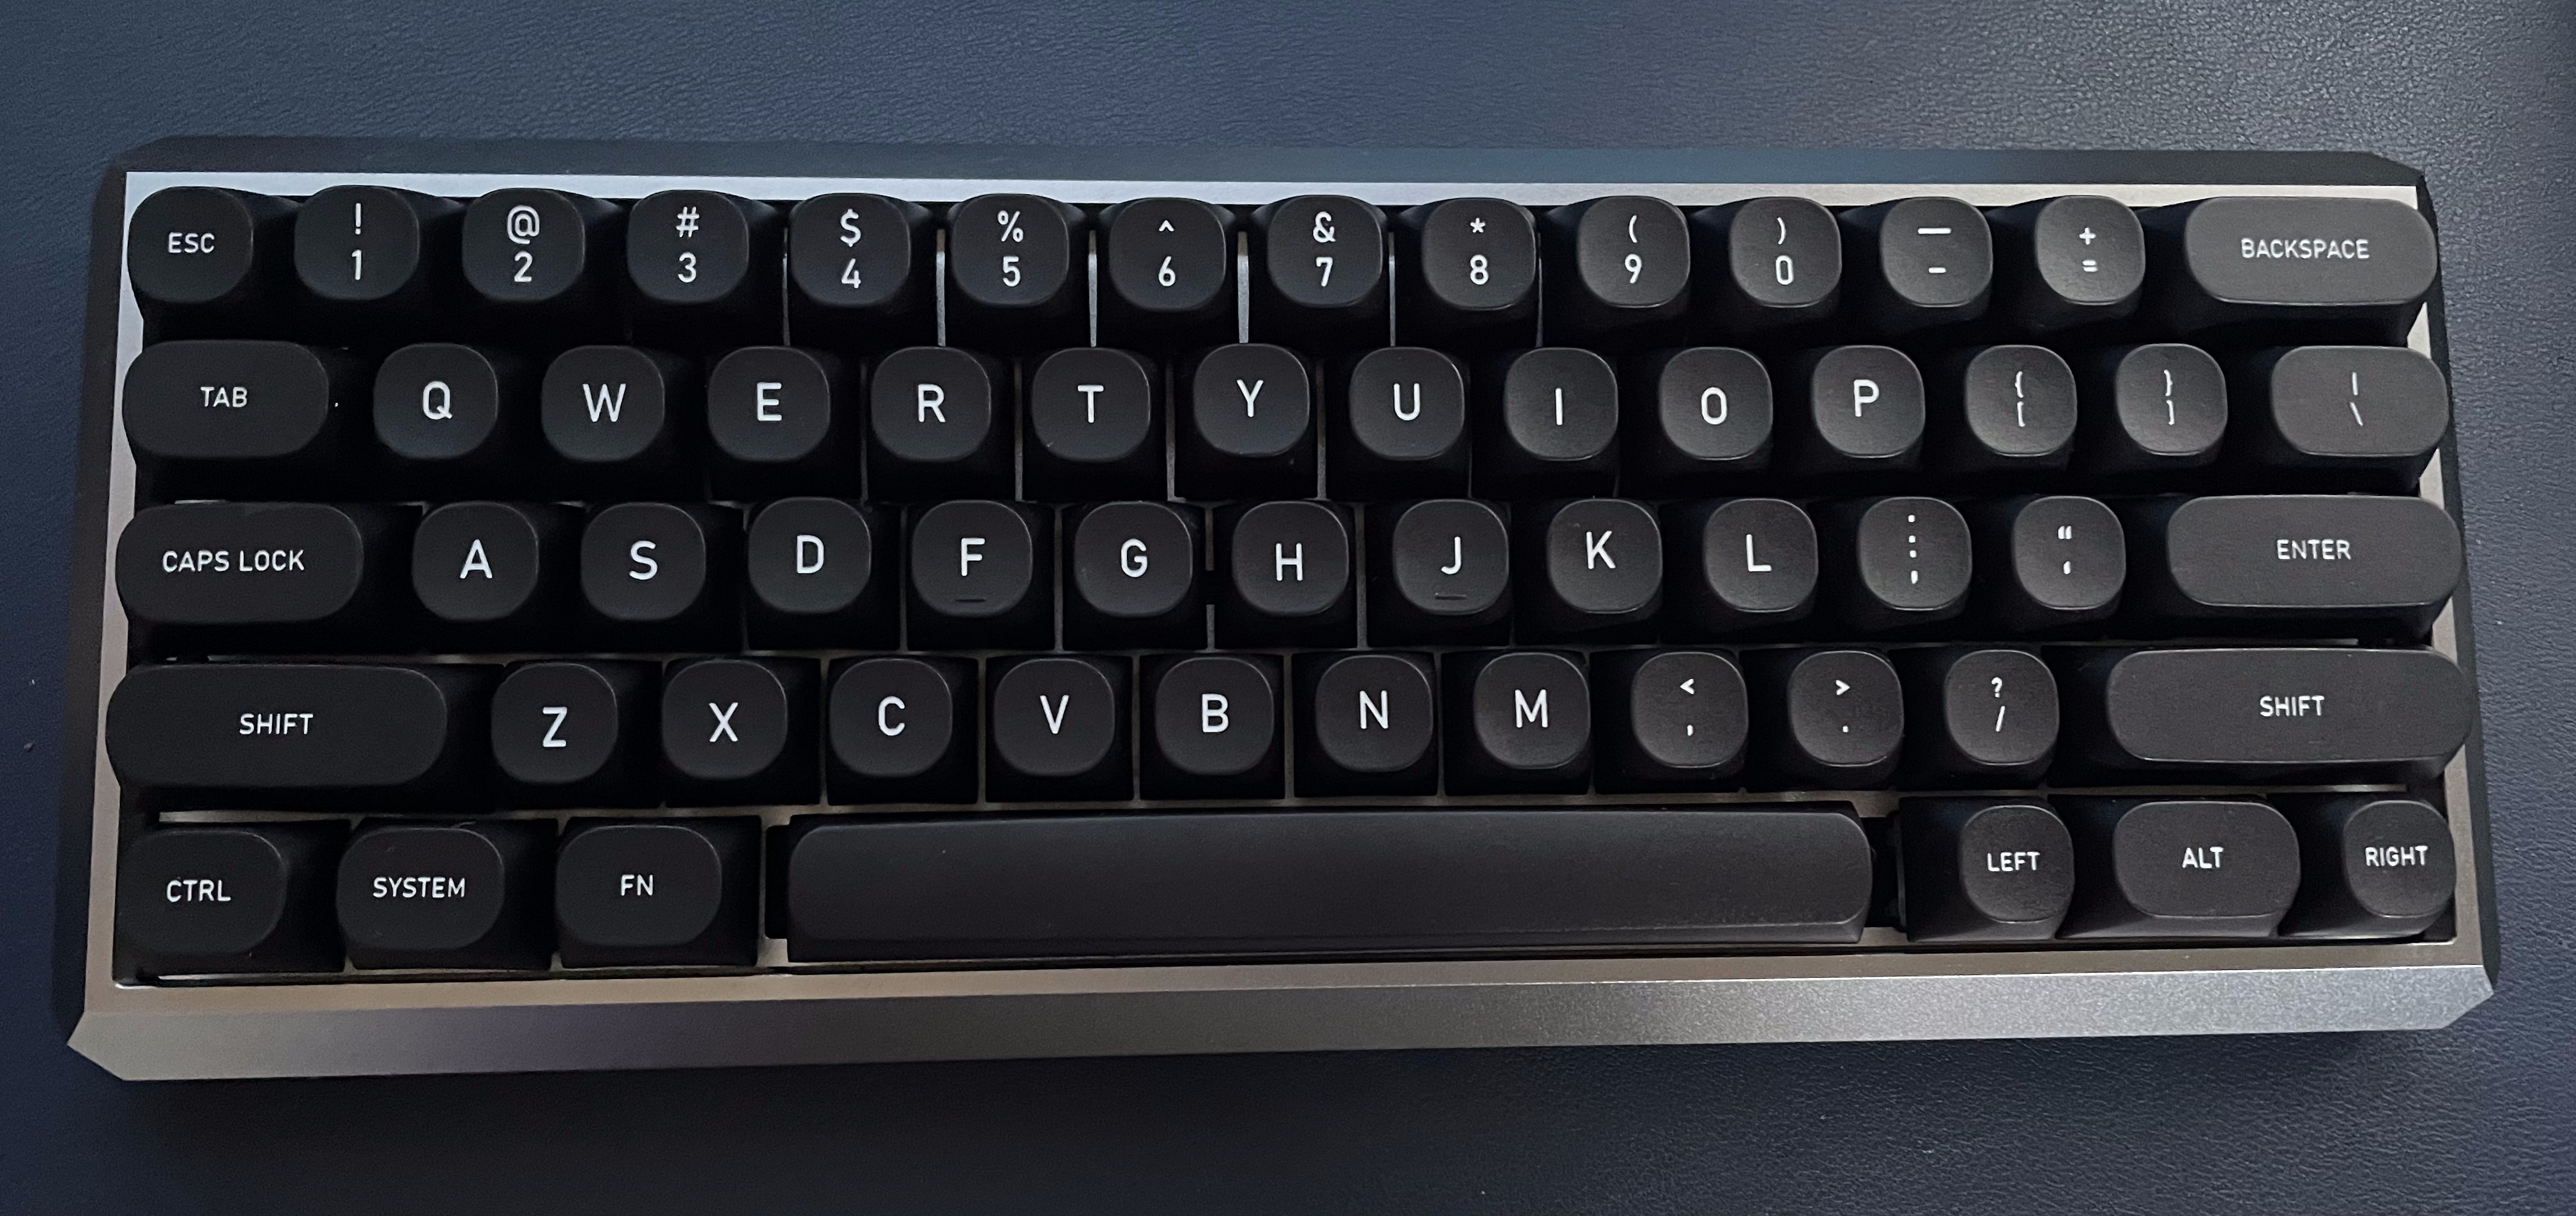
For my project, I built a mechanical keyboard completely from scratch using parts ordered online with funds provided by the Electronics Club. From building this keyboard, I was able to learn a lot about how keyboards work and are built. Most important of all though, I was able to practice and apply my newly found soldering skills to mount the mechanical switches to the pcb board. The pcb board requires a mound type soldering shape to connect the pins of the switches to the board. I messed up a few times on the soldering, and got a lot of practice in removing the solder from the pins. I found the most effective way was using a desoldering wick and a pump. Building the whole keyboard took up quite some time, around 6 or 7ish hours I believe. This is because, once I had the whole keyboard assembled, I realized an issue. I had lubed my switches way too much, causing some of the keys to not function as well as they could’ve. To fix this, I had to test which keys had this issue, and then desolder the switches and wipe away the excess lube. Other than this, I was able to complete the project pretty smoothly and didn’t encounter any other issues. This project was great for me, as it let me practice my soldering skills and learn a ton about the keyboards we use every day.